Let’s face it- taking a self portrait is not an easy task. And I’m not talking about a selfie with your phone and all the filters and phone lens distortion. Taking an in-studio self portrait is tricky in and of itself, add your own children, and it becomes a circus.
I do however, on occasion attempt this feat, and here are some fool proof tips to help you nail this. The three most important things for me are a tripod, mirror, and of course the timer or a remote control for my shutter.
Of course, aside from the technical aspects, considering your wardrobe and color scheme is just as important. My style for studio portraits tends to incorporate more tonal color schemes, so I always take this into consideration. I like backdrops with subtle texture to them and coordinate outfits accordingly.
Motherhood Portraits
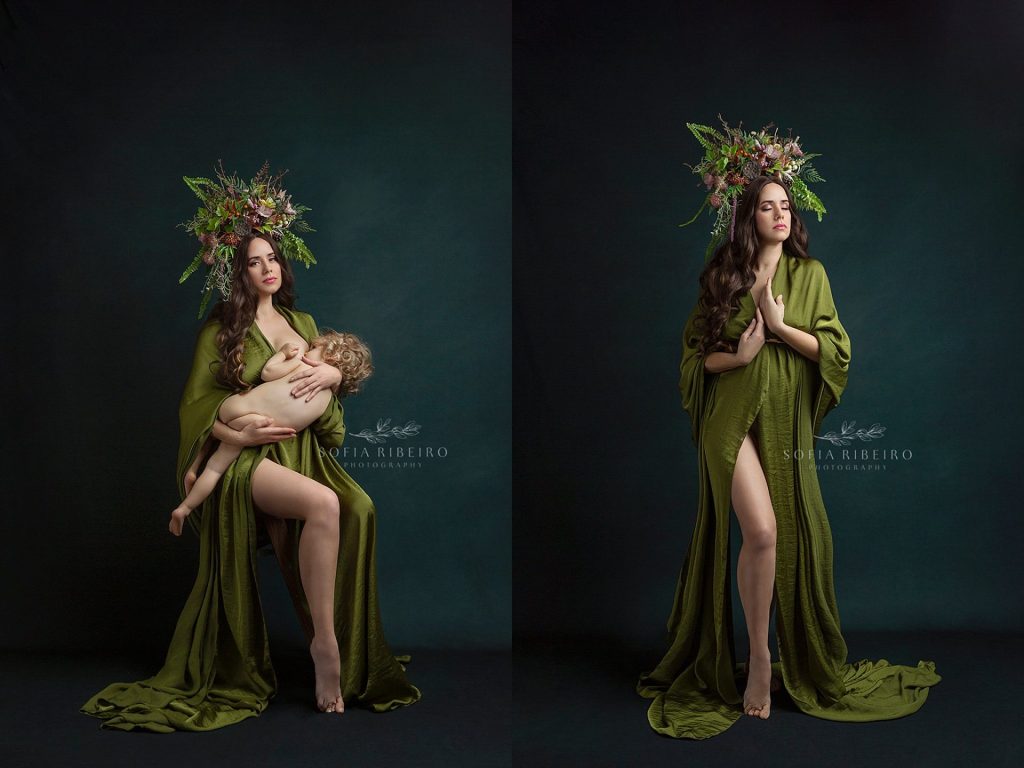
The idea for this blog post started when I took this series of nursing, green goddess inspired self portraits. I’ve been dreaming of creating this since before my baby was born. Motherhood plays an important part in my work, and I love creating portraits for moms with their babies. Moms always end up choosing these images in their final collections.
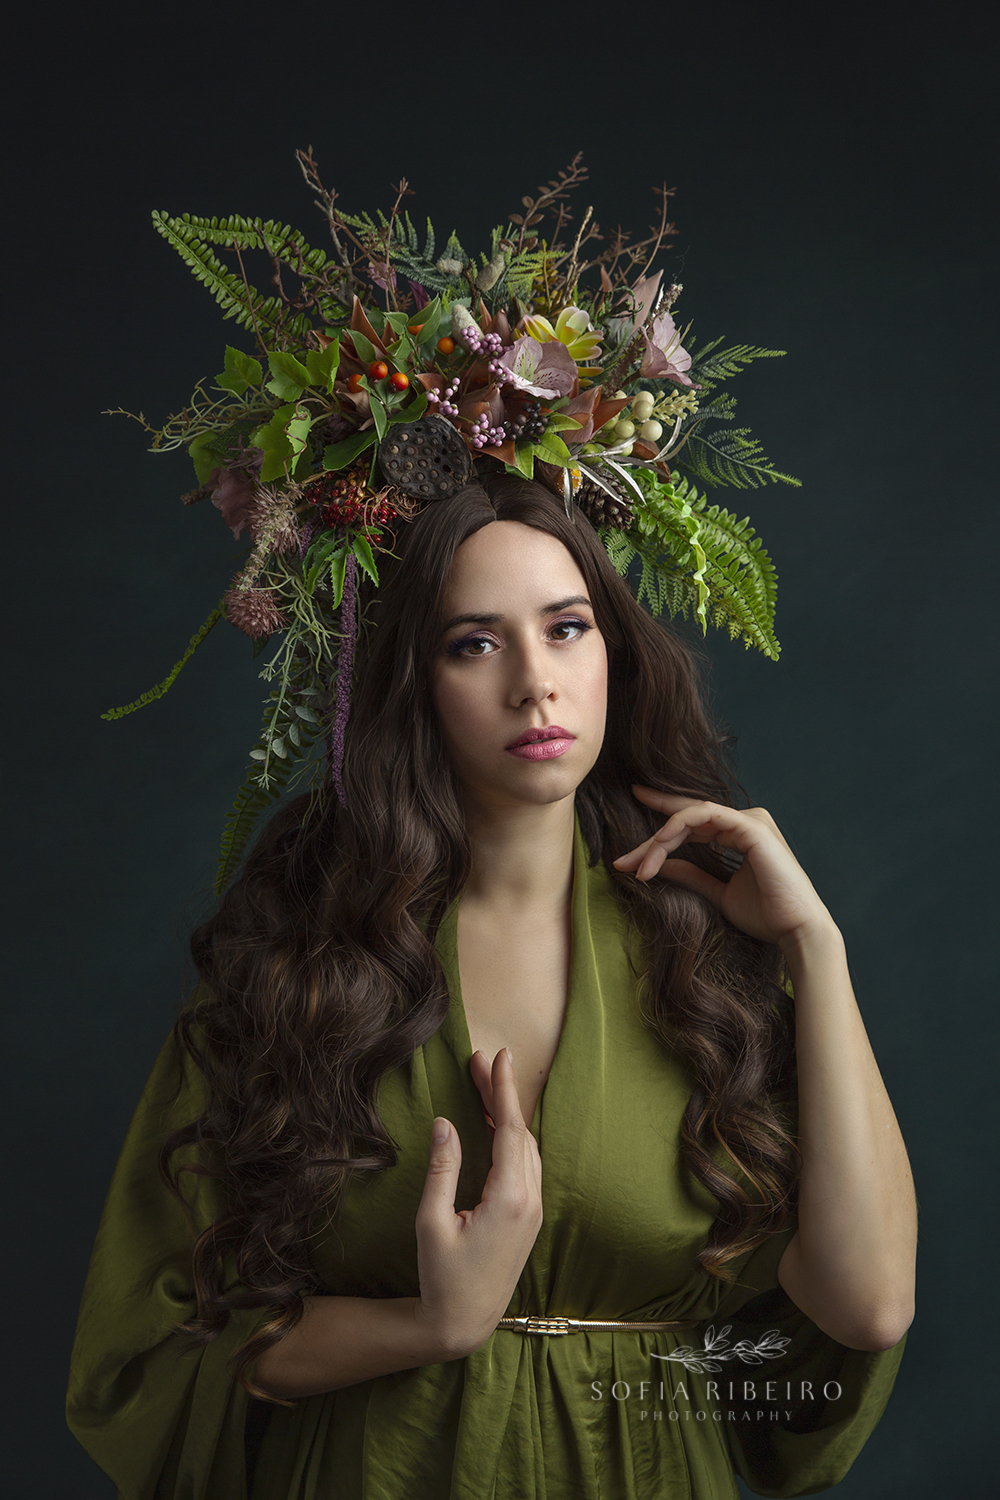
The idea for this particular set of portraits, started with a single accessory. The green headpiece caught my eye and I knew instantly I wanted to do something with all greens. The “dress” was fashioned from a single piece of beautiful green fabric from Mii-Estilo, and just draped and belted around my waist. I use a lot of fabrics in maternity and motherhood portraits and clients are always surprised that they are “just fabrics.” The backdrop is the perfect shade of emerald green from HSD Backdrops, and I just really love the result.
Self portraits are a great way to test new backdrops, lighting styles, or to just have a little bit of creative play time for yourself.
Steps to self portrait success
- Placement. Think about where you will be in the frame. Mark this area with something you can focus on with your camera. Typically, I use a stool, or even a mannequin. If you have an extra person around, you can have them stand in for you while you figure out your framing.
- Tripod. I’ll set my camera on the tripod at whatever distance necessary for the framing I want. It is up to you, but I go in between using the shutter remote, or the timer, depending on if I’m alone, or I have one of my children with me.
- Mirror. This step will come in handy next for a few reasons. Place a full length mirror behind your camera and tripod. You can use it to adjust the lighting placement on your own face (if using studio lighting), and you can use it to check for the small details like your head tilt, hand placement, the way your garments look, etc, to fine tune your image.
- Lighting. Adjust your lighting if using studio lighting, to the desired effect. The mirror will help you see where the light and shadows fall. Having a mirror behind the camera has greatly improved my self portraits.
- Timer or shutter remote. Using the timer on your camera is great, especially if you have a setting that allows you to take multiple shots with an interval in between. When I take self portraits with my children, I find it easier to use the 2-second timer with my shutter remote. I will push the button and hide it in my hand, or drop it and photoshop it out later! It’s also always a good idea to take a test image, check the back of the camera and make sure everything looks as you intended.

Of course, as a last resort, you can set everything up and have someone else push the trigger!
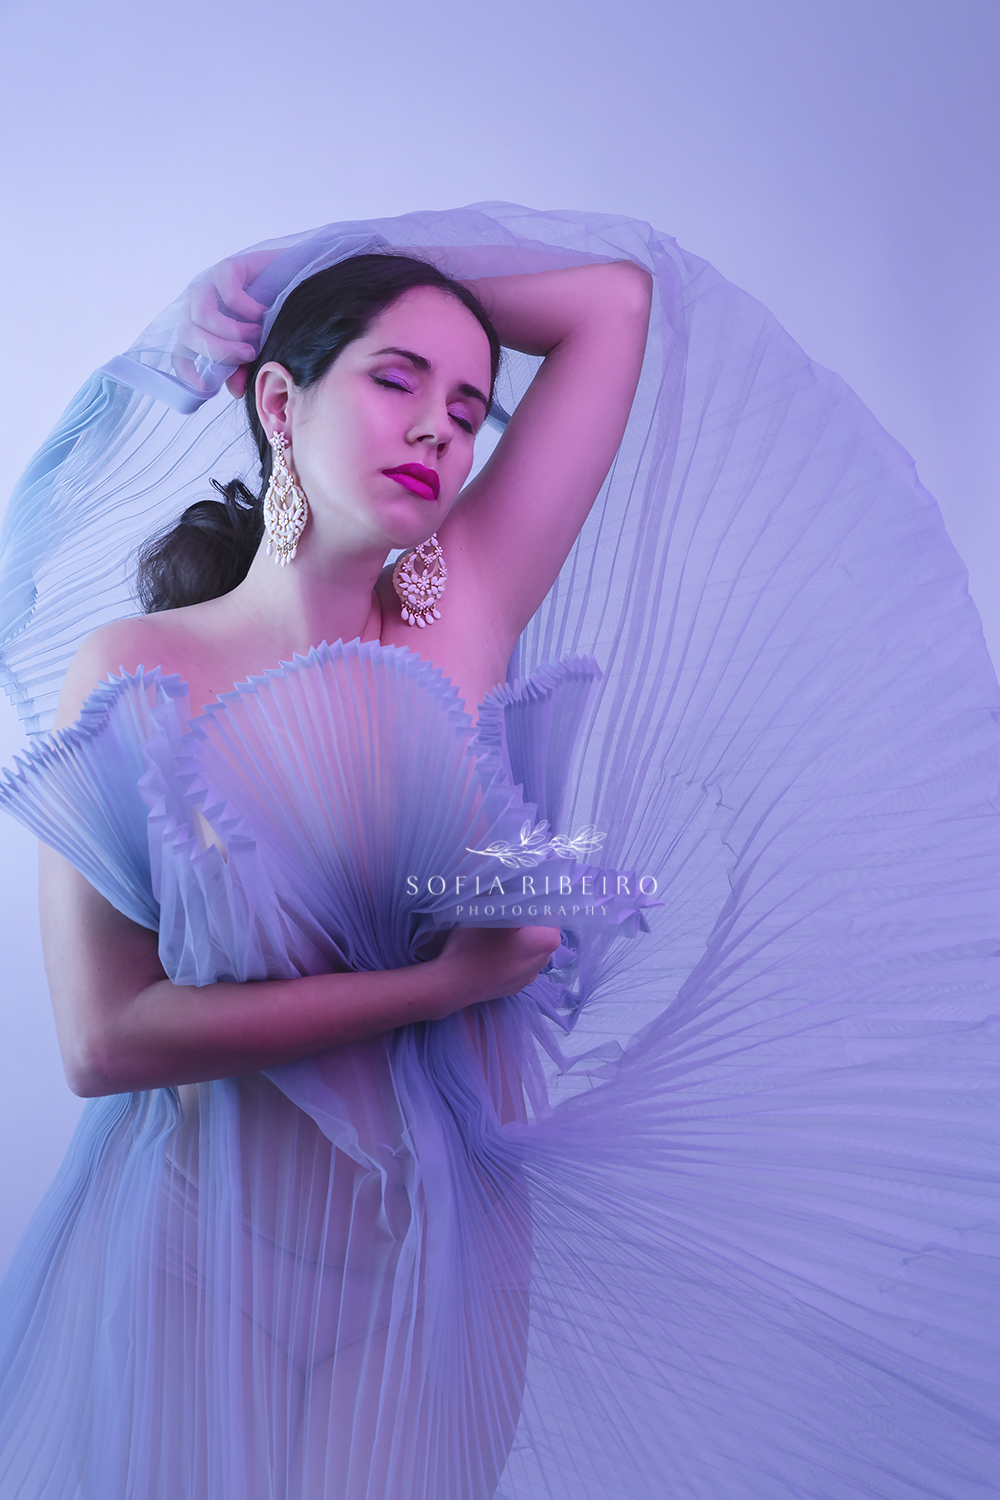
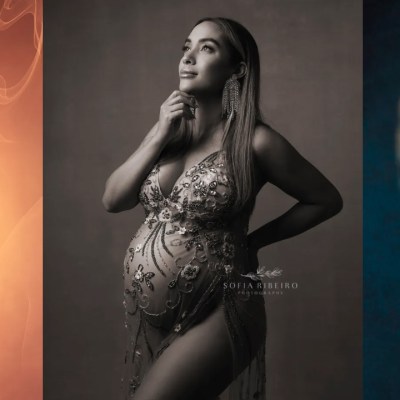
Here are a few examples of some self portraits taken using this method. With the exception of the gelled photo in the purple tones (taken on a white seamless backdrop), the other photos were taken using backdrops from HSD Backdrops. They feature their Alpine and Emerald drops.


To book your session today, schedule your free consultation here. Don’t forget to follow me on Instagram for the latest!


Leave a Reply