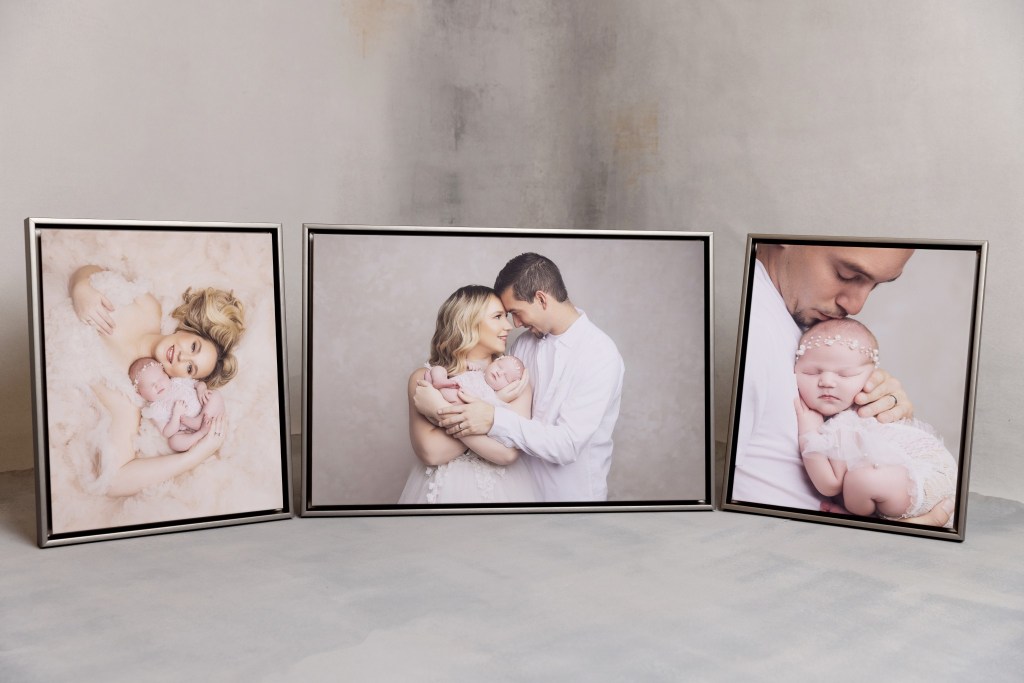
New! Floating Frames – Available in Canvas, Acrylic & Metal
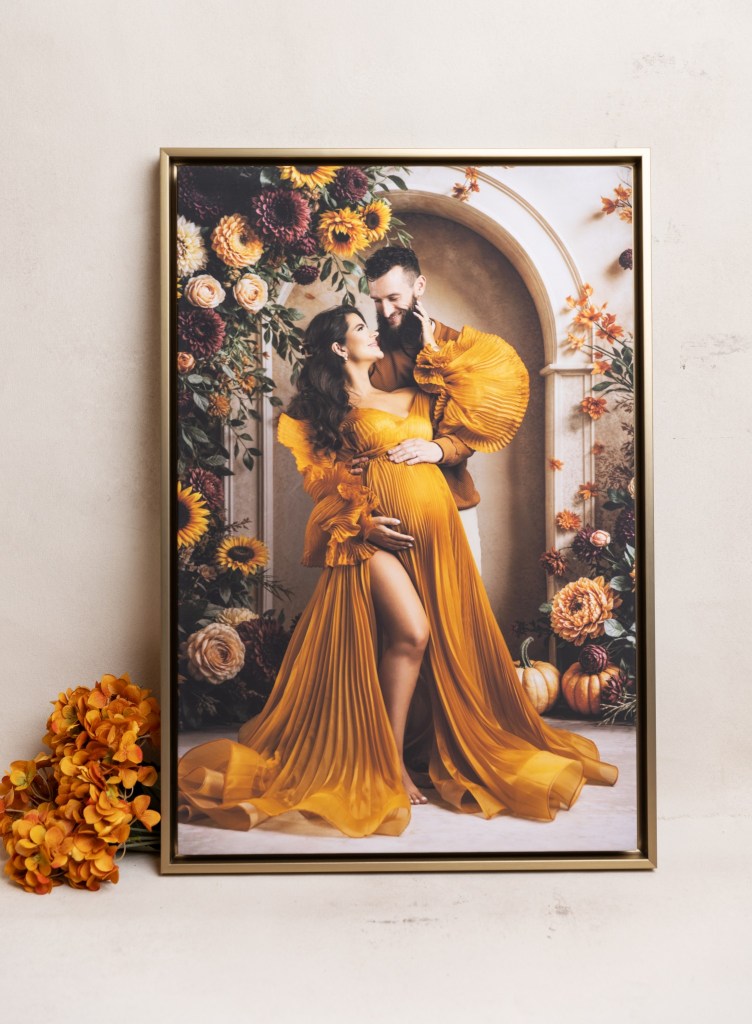
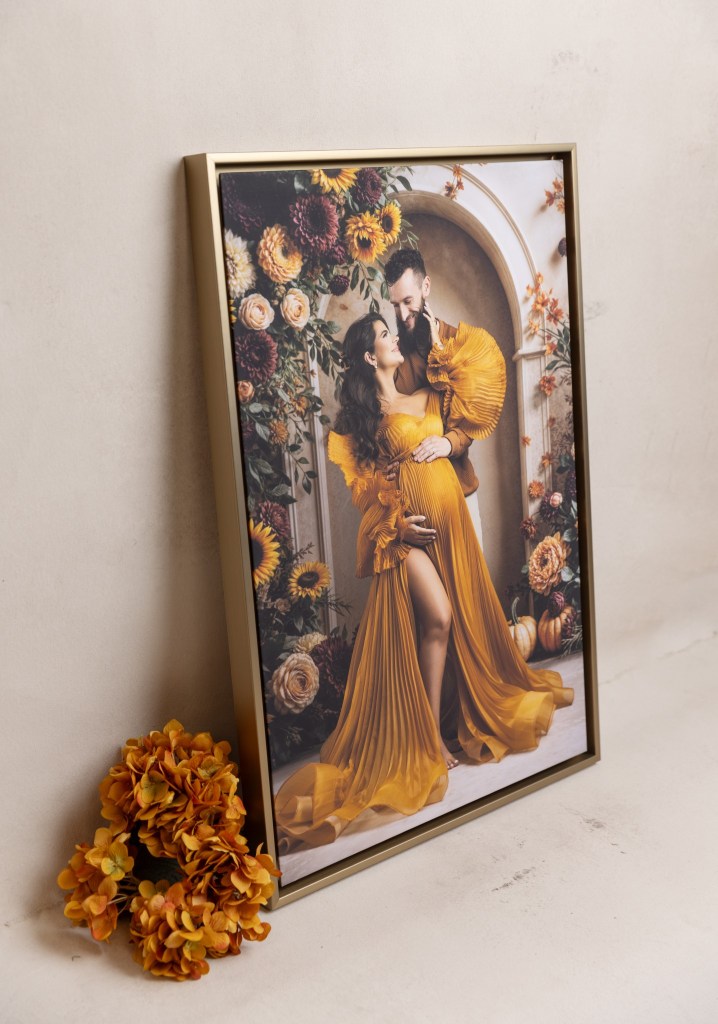
Our new floating frames offer a more contemporary approach to your metal, canvas, or acrylic prints. The mounting technique allows for a three dimensional view of the edge and interior of the frame for a beautiful, clean look.
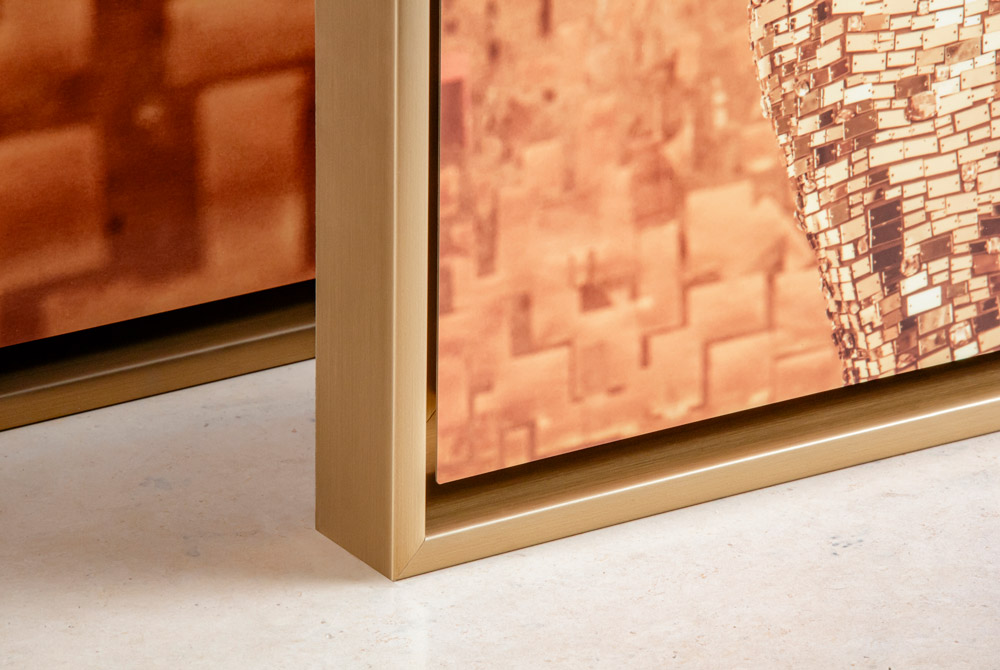
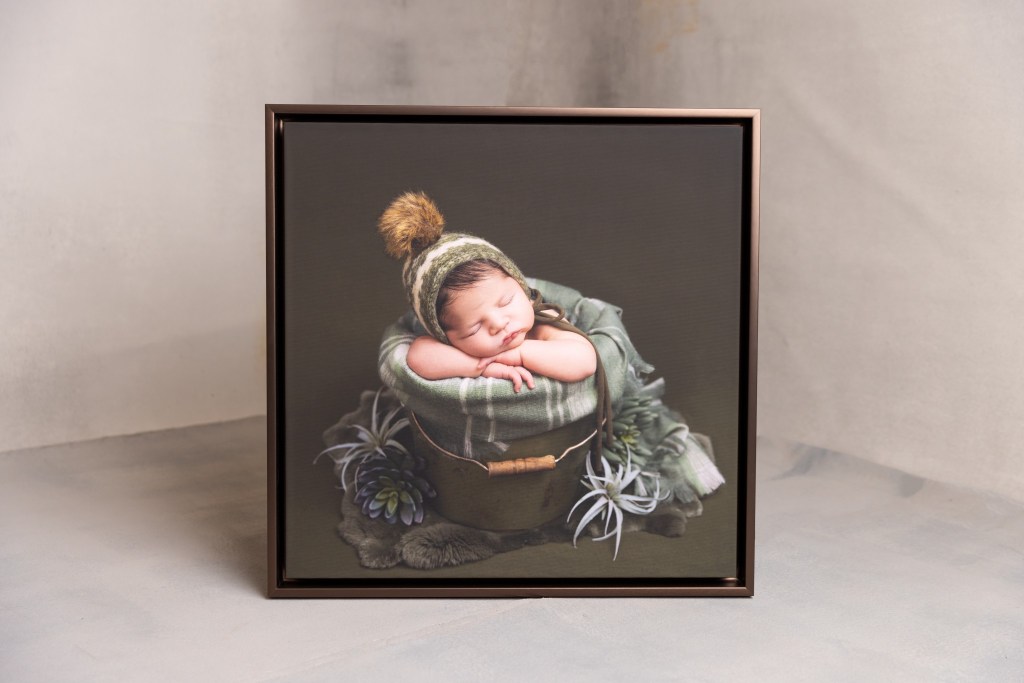


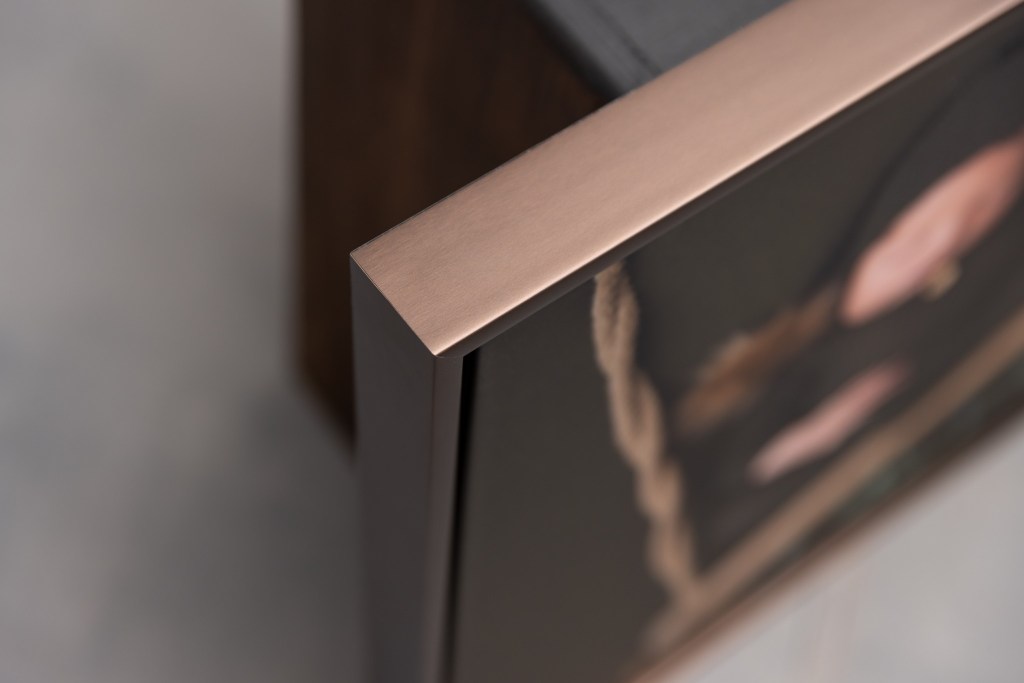
Solid, sleek frames, with closed backs
Your artwork of choice is enclosed in sleek frames, with a solid back, finished in a touch material in either black or white. Integrated wall hangers are 3-D printed and built into your piece for easy hanging.


Benefits of floating framed wall art
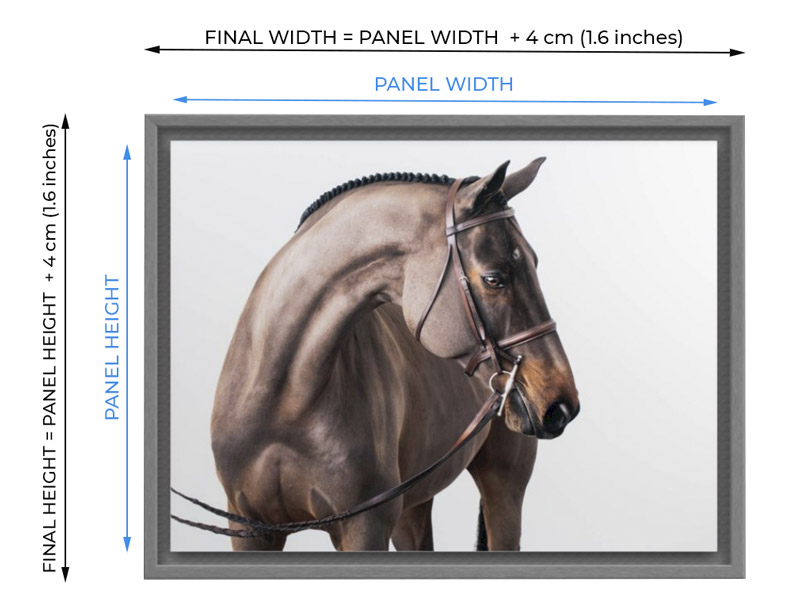
- 1.6″ profile
- Ready to Hang
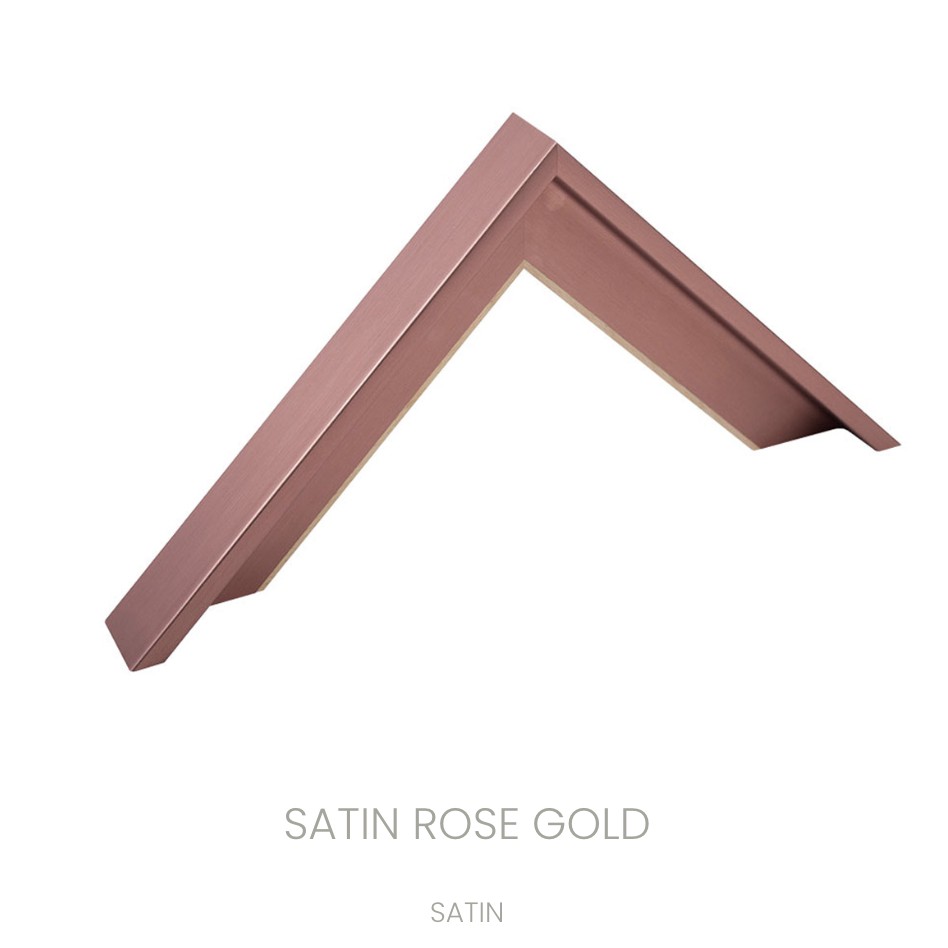
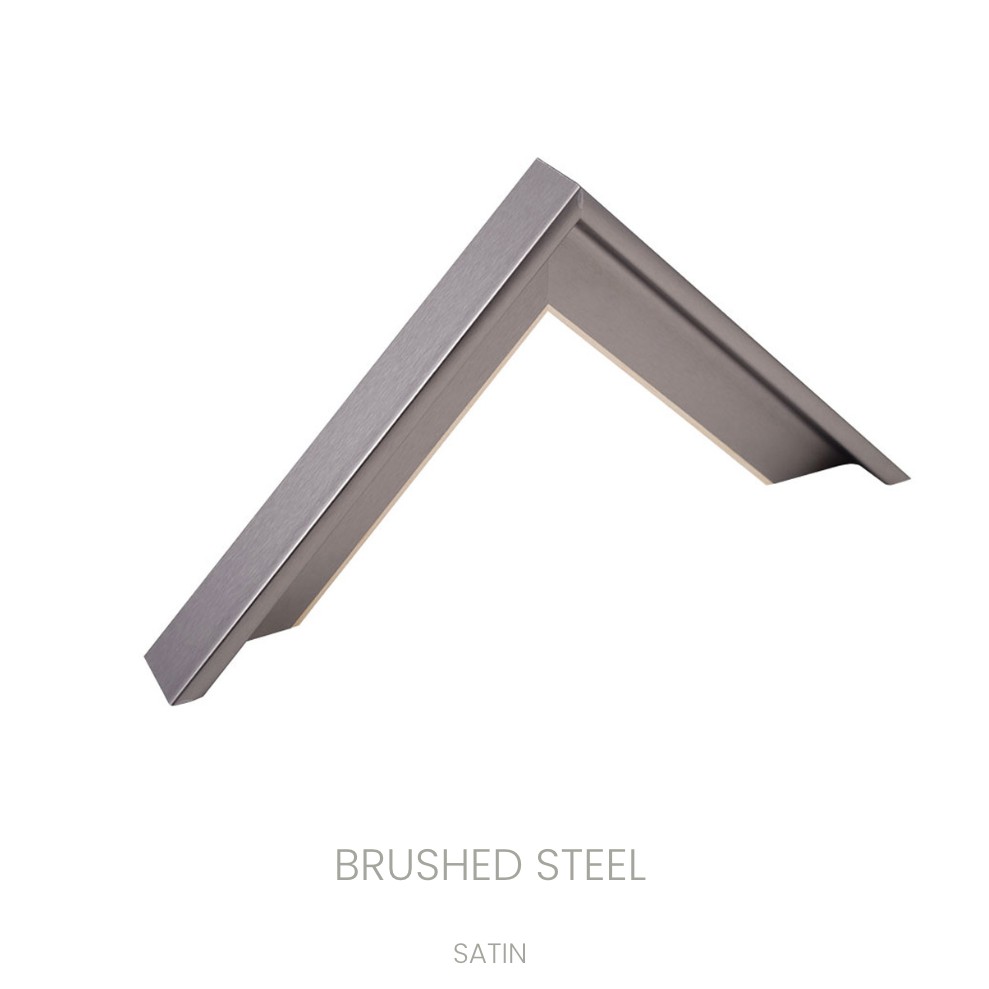
- 8 Customizable frame colors to match any decor
- Finished, luxurious look


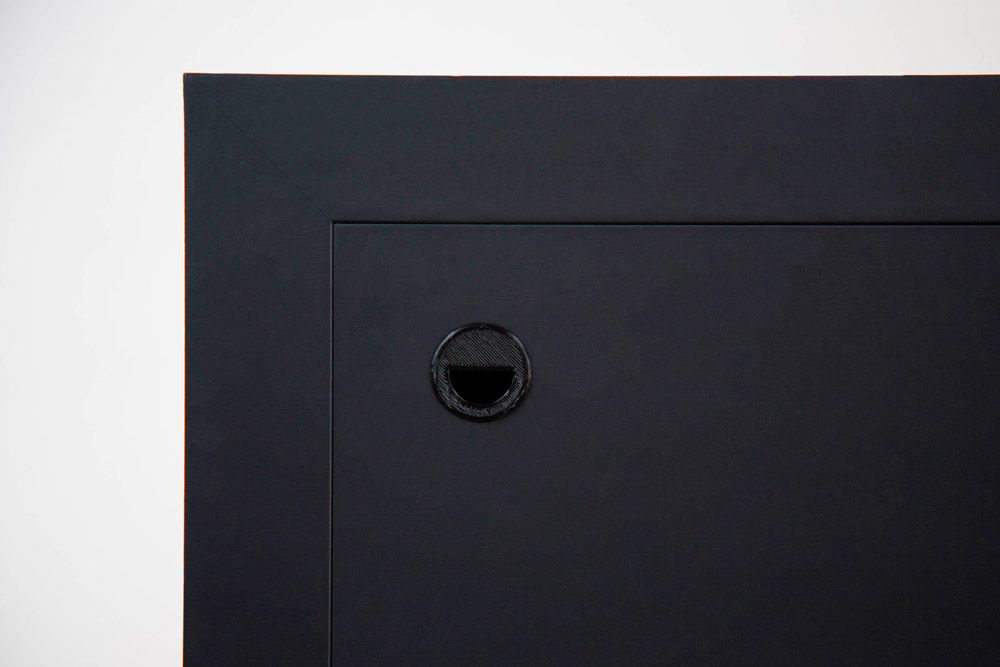
Sustainable 3-D printed integrated wall hangers
Every framed wall piece has integrated 3-D printed hangers for a seamless look. The serrated edges make it easy to adjust the placement on your wall.
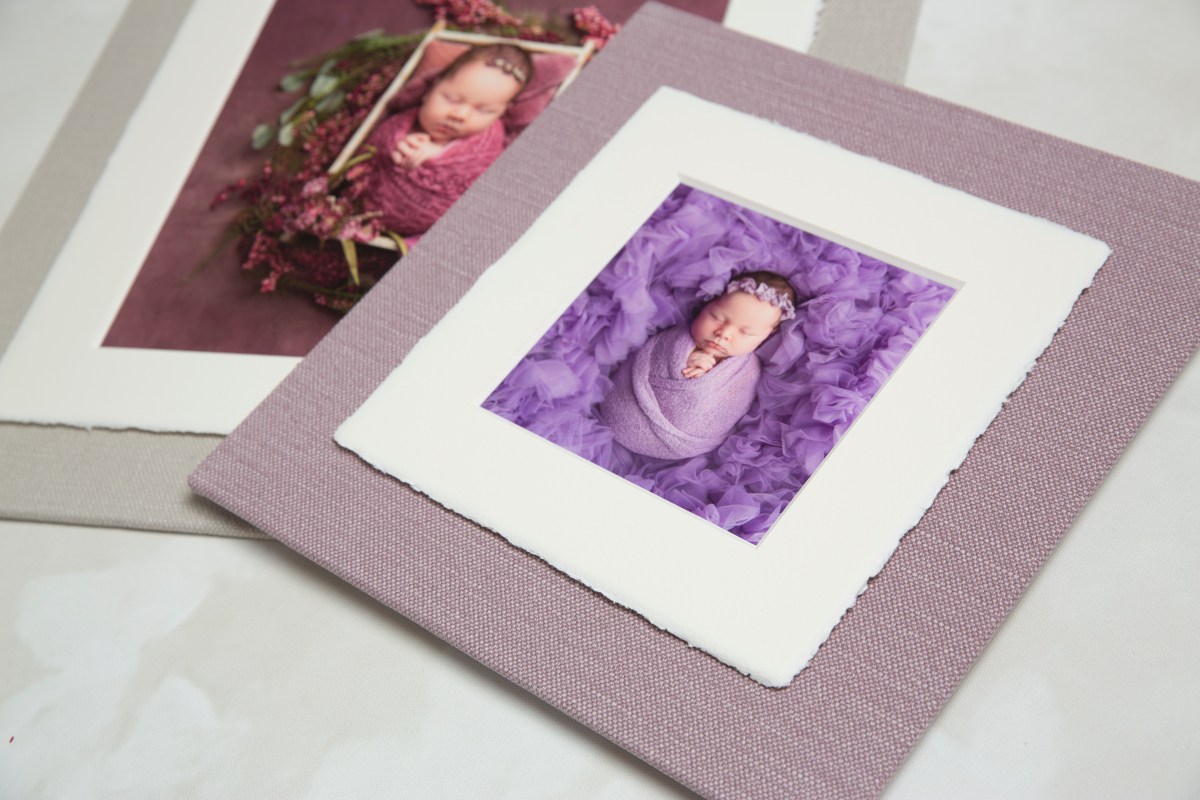
Other Wall Art Options
You can find more information on other types of wall art and printing options we provide at the below links.
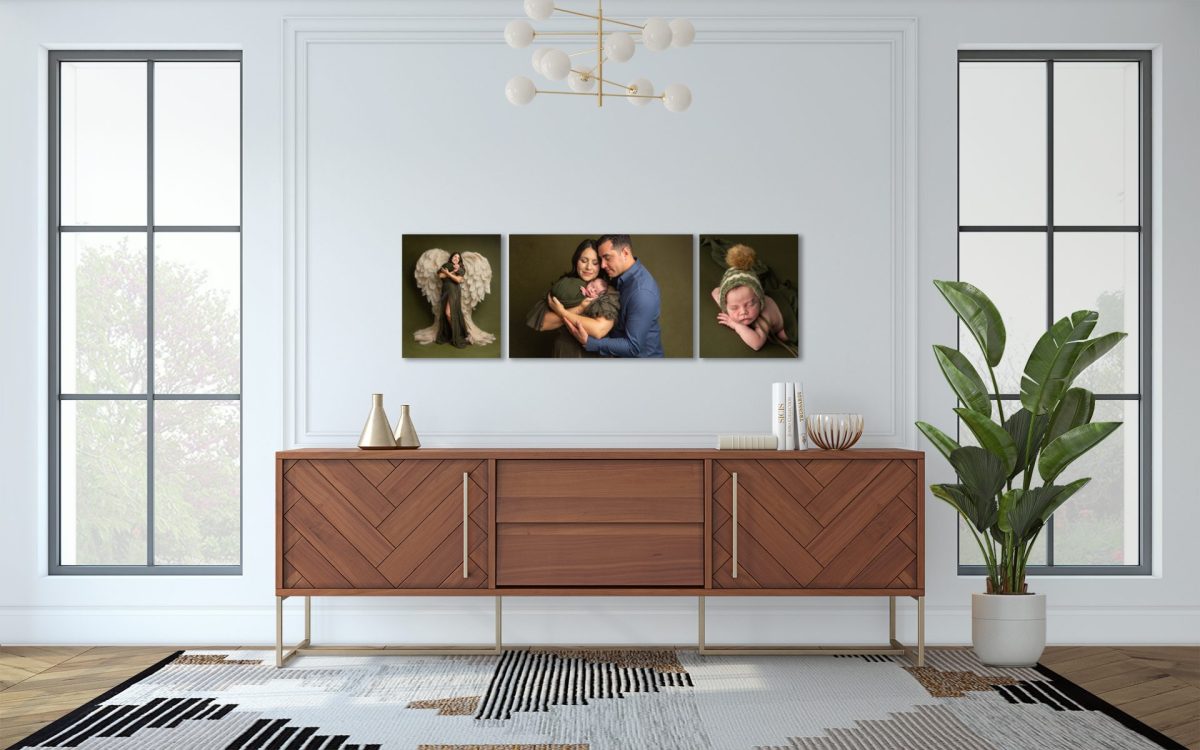
Not sure what size to get? See this handy guide for a size comparison, and some existing client’s wall art layouts for inspiration.

How to Hang Your Wall Art
You can find a more in-depth guide on hanging different types of wall art HERE.
Before you hang your wall art, you should gather some essentials. You can find a shoppable list of supplies here: Tools for Hanging Wall Art
- Measuring Tape
- Hammer
- Picture Hangers, Screws, or Wall Anchors, depending on surface type and portrait weight
- Laser Level (or regular level) – I find the laser levels to be the most useful when lining up multiple pieces, this laser level is a favorite.
- Painters tape
- Cardboard or paper (optional) for laying out your pieces
- A pencil – to mark guide holes for where to drill or hammer.
Hanging your wall art depends on your surface type and the weight of the products you are hanging. For any heavier fine art piece that you are placing on your walls, I always recommend a secure and traditional method of a screw directly into the 2x4s in your walls, and where not possible, with the appropriate wall anchors to securely hold your piece in place. Amalfi panels, canvas, metal, and acrylic wall art pieces all come with integrated, flush hangers so there is no need to attach additional hanging hardware to your piece. For framed pieces, your framer should be able to specify the appropriate hanging hardware for the weight of your piece.
Smaller, lightweight pieces should be fine with simple picture-hangers. I would not recommend hanging any wall art with command strips as these can fail, despite the weight rating. However, these are fine for more casual home decor items.
You can find more resources and tips here:
- How to Hang a Picture: 5 Tips
- How to Hang a Picture Perfectly – some great tips on spacing in common areas
- Hanging Wall Art- The Complete Guide
A few quick tips for hanging your wall art – Do’s and Don’ts
- DO: Find eyelevel as a starting point for the center of your artwork- this is around 57-60″ from the floor
- DO: Mock-up your artwork with painters tape or cardboard to make sure you like the positioning prior to making any permanent holes.
- DO: Use the appropriate wall anchors for the weight of the piece type of wall you have when not anchoring directly into studs.
- DON’T: Use command strips for hanging fine artwork or any artwork you have heavily invested in
- DON’T: Place your artwork in direct sunlight. Direct sunlight will degrade and fade anything over time.
Sofia Ribeiro is an NJ maternity and newborn photographer, serving the Tri-state area, including North and Central New Jersey, as well as New York City, Staten Island, and beyond. Don’t forget to follow us on Instagram and Facebook to keep up with the latest!


Leave a Reply