How to Hang a Picture – Make a Plan
Prior to hanging your pictures, make a plan that takes everything involved into consideration. What is the weight of your piece or pieces? What type of surface are you hanging your picture or artwork on? Is the surface adequate for drilling holes, and what type of hangers will you need?Are you hanging singles or multiples? This will impact your height, spacing, and overall layout and the amount of tools you will need.
**This article contains affiliate links. As an Amazon Influencer, I earn from qualifying purchases.**

Tools you will need to hang your pictures:
- Frame hardware
- Appropriate wall hangers for weight and type of wall
- Hammer
- A Drill – for making pilot holes and drilling into studs
- Ruler/measuring tape
- Laser level or regular level – this is a great regular level and comes with a photo hanging kit
- Studfinder
- Pencil
- Painters tape
- Cardboard or paper (optional)
Types of Wall Anchors for hanging
- Screws – can be placed directly into studs in drywall and plaster walls. Tip: Plaster walls can be prone to cracking, so drilling a small pilot hole through a piece of painters tape will help keeping this as need as possible. For wider and heavier pieces, two screws are a more stable option as they will prevent the tilting or swinging of a frame on the wall. Screws are the ideal and most secure method for hanging heavy wall art.
- Wall Plug Anchors, Expanding anchors, and Toggle Bolts. For areas of wall where there may not be studs, or in masonry (brick and cement block walls), you will need appropriate anchors, and a masonry drill bit. You can find a variety of anchors here: Tools for Hanging Photos
- Monkey hooks – another option for hollow drywall – these are press in type of hooks that don’t require a hammer.
- Picture Nails – another option for picture nails here – again, I recommend nails for lighter weight pieces, but always pay attention to weight ratings and recommendations.
Types of hardware for frames
If your frames don’t already come with integrated hangers (note: all of our ready to hang wall art comes with 3D printed integrated hangers that sit FLUSH to the wall. No additional hanging hardware is required), you will need to install some onto the frame. Here are a few popular choices:
- Sawtooth Hangers
- D-rings & Picture wire – You can find more detailed information on hanging with picture wire here.
- Beehive hangers – these unique hangers allow you to reposition photos easily up, down, or diagonally, and feature a “stinger” to place the mounting pins into the wall. These hangers work for drywall applications and can be used on wood frames. See more information on their website.
How to hang heavy pictures or wall art
Heavier pieces require more secure and stable anchoring solutions. The most secure is to make sure at least ONE of your anchors is a screw placed in a wall stud. For heavier pieces, one hook may not be enough.
- Weigh your wall art or picture frame
- Purchase the proper rated frame hardware and wall hooks or bolts for the piece’s weight AND your wall type.
- Most larger and heavier pieces will need two pieces of hanging hardware screwed into the frame, and two anchors or hooks in the wall. This will also prevent the piece from swinging or tilting.
- Toggle bolts are larger anchors, and require a slightly larger hole drilled into the wall for insertion, but also hold the most weight.
Create and decide on your layout
What is the best height to hang pictures on the wall?
The widely recommended height for center of your picture is about 57″-60″ from the floor, which places it at average eye level. This applies to a typical wall, but of course, if you take furniture, fireplaces, or other design elements in your home into account, this placement may change. For walls taller than 8 feet, you can get away with hanging photos a bit higher.
Martha Stewart provides a neat little image to account for the picture hanger placement in this guide for the eye-level placement.
If you are hanging multiple photos or pieces of wall art, use paper or cardboard to create stencils of everything you are hanging and putting them up on your walls with painters tape. This way you can play around with the spacing and layout until you are happy. Using a laser level during this process will help you keep everything neatly aligned.
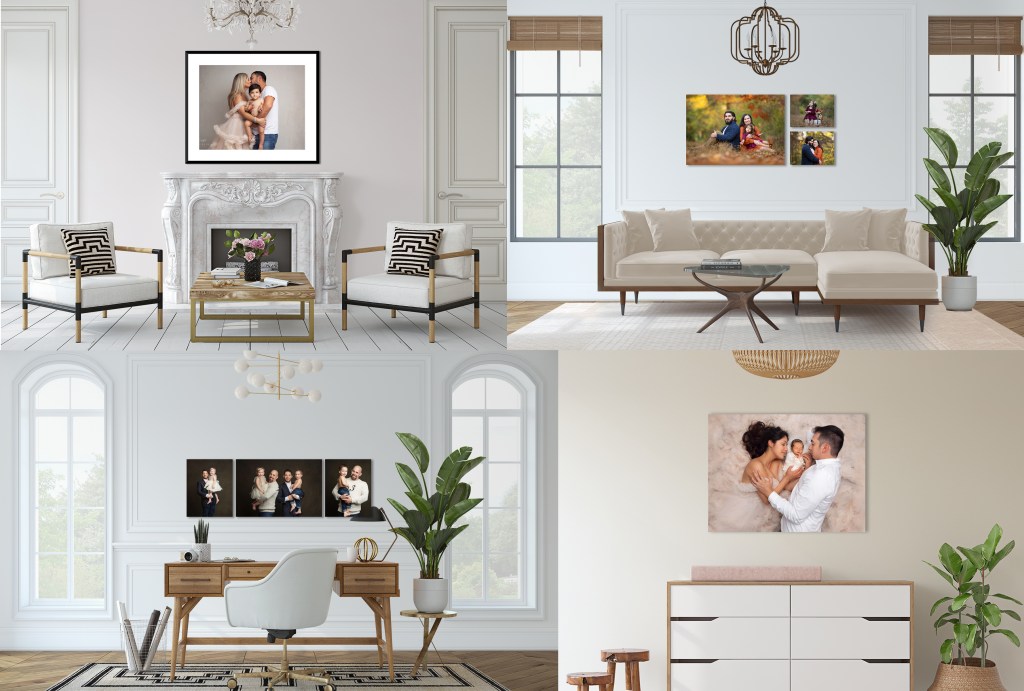
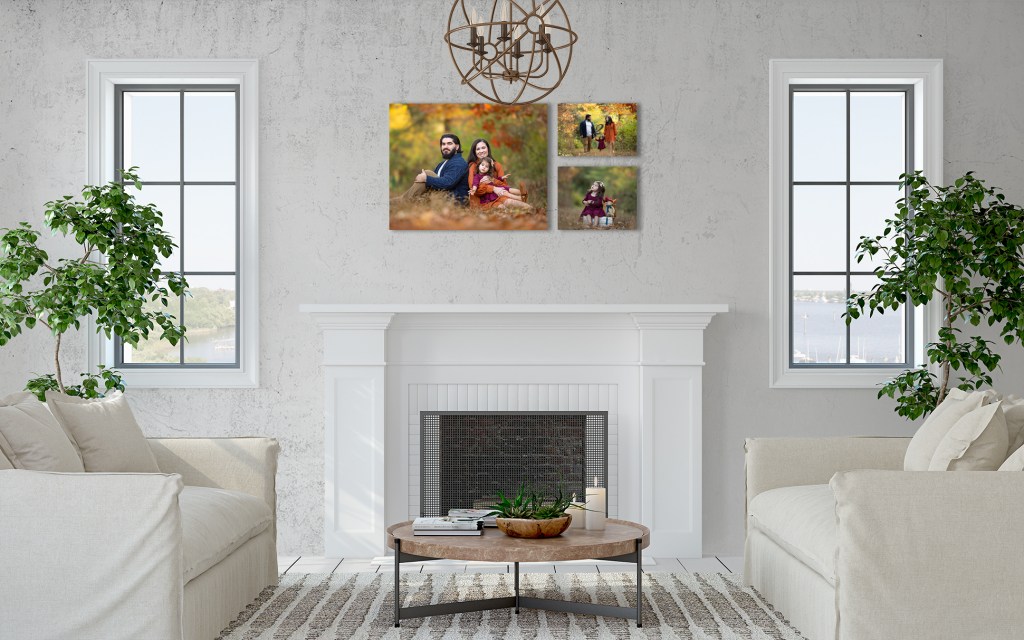
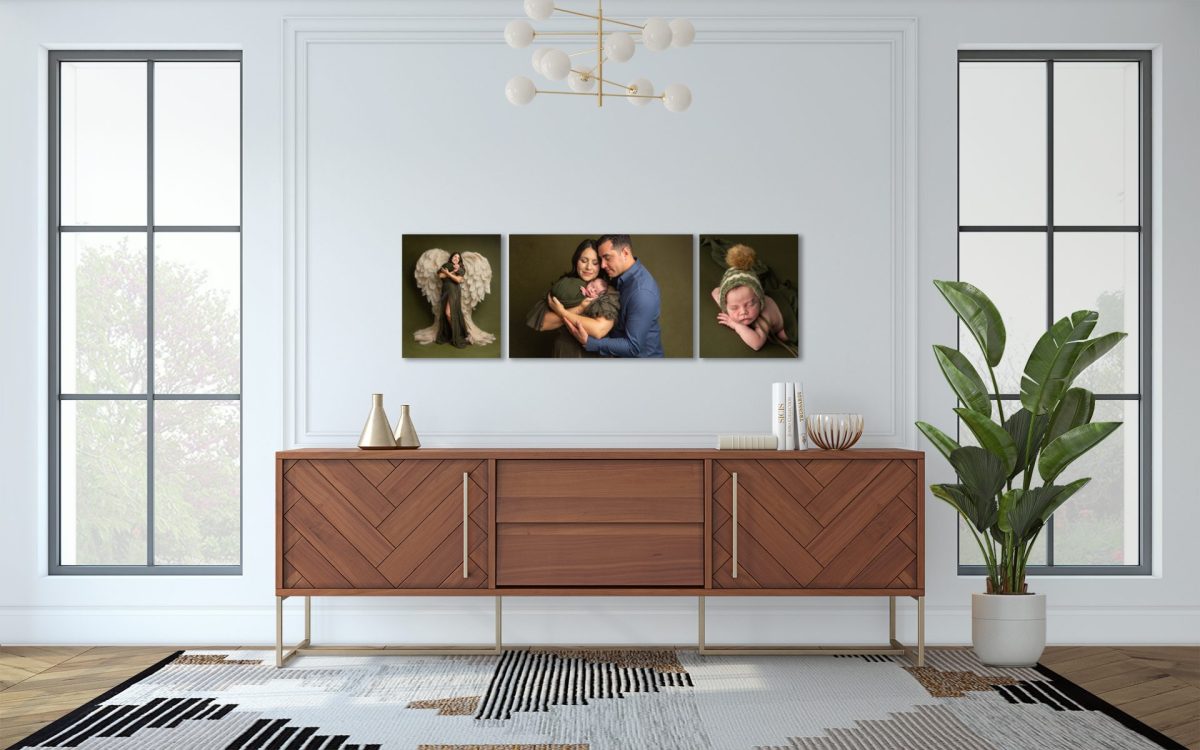
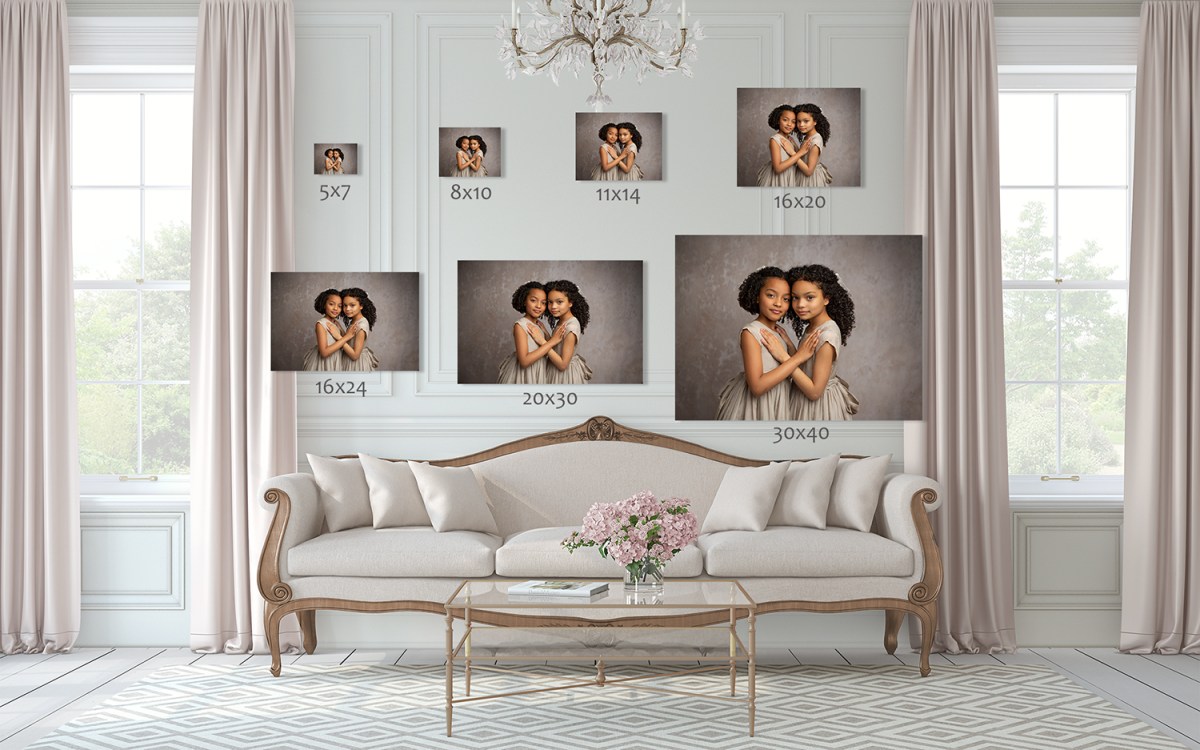
If you are hanging photos above a mantle, sofa, or piece of furniture, the photo or grouping of photos shouldn’t exceed the width of what you are hanging above. The most often referenced, is not to exceed two thirds of the total width. As far as height, recommendations vary between 6-10″ above.
You can find some great visuals and placement tips here: How to Hang a Picture Perfectly
Some more tips to hanging your wall art perfectly!
- I especially love the sticky note hack from Bob Vila here: Picture Hanging Tips
Hang your Pictures!
When you are ready, mark the center of the hanging hardware on the back of your frames onto the paper stencils and create a guide mark with a thumbtack. Alternatively, if not using stencils, and with the help of a second pair of hands, you can hold the frame in place, mark the top edge of the frame with a pencil, and then measure down to where the picture hanger is and mark accordingly.
Picture hooks are hammered in a downward direction. Screws and anchors go in horizontally, and may require additional steps. Drilling small pilot holes first will help you get the screws in more easily. Any picture hanging kit or wall anchor specific to your type of wall should contain instructions. Follow accordingly. You can find more information on how to use wall anchors here: How to Use Drywall Wall Anchors
When hanging heavier pieces, it is always recommended to use a screw directly into a wall stud. You can use a studfinder to find the center of studs in your wall. This is a great one!


5 Ways to Hang a picture without holes or nails
In some instances, with lighter weight pieces, or where you absolutely cannot make holes, you may want to use adhesive picture hooks or strips. 3M Command makes the most popular hooks and tapes with a variety of weight, material, and surface ratings. I do not recommend hanging anything heavy or valuable with these adhesives personally, but this is a matter of opinion.
- Sawtooth Adhesive Hangers
- Adhesive Strips
- Metal Adhesive Picture Hangers
- Picture Rail Molding – see below for more
- Lean your artwork frames against the wall
As with anything, please pay attention to manufacturers prep and installation instructions when using.
Alternatives to hanging pictures on walls
If you are not married to the idea of hanging pieces permanently on your walls, or you like to change out your decor on a seasonal or regular basis, the below options might be for you.
- Install picture shelves or use existing bookshelves
- Use your mantle
Either one of the above options will allow you to lean your portraits and frames against the wall and create a collection of images this way. It allows for flexibility and ease of
- Picture rails – This is a slim molding that goes up near the ceiling and allows you hang photos from the molding with wire and hooks. You can play with the heights of your hanging portraits and spacing. This can sometimes be found in older homes as well and creates a nice architectural detail. This article, What is a Picture Rail, provides some historical information and visuals for what this could look like!
- Here are some systems you can look into:
- STAS J-Rail
- For when you have existing moldings and just need the hooks: Picture Rail System
Things to avoid when hanging your pictures
For the longevity of your images, you should avoid the following when hanging your photos:
- Direct Sunlight – avoid hanging your photos where they will be exposed to direct sunlight as this will degrade your photo or artwork over time.
- Extreme temperatures or humidity- Avoid exposing your photos or artwork to extreme temperature conditions or humidity. Bathrooms and direct sources of heat such as fireplaces or radiators can create damage over time.
Not sure where to hang your photos?
Most people will choose locations in their home that serve as a gathering spot for families and friends to display their photos. Common areas are living rooms above and behind a sofa, family rooms, entryway spaces, and over the fireplace mantle.
However, you may want to consider some of these tips for different areas in your home where you can create interesting displays: Where to Put a Gallery Wall in Your Home.

Don’t forget to follow us on Instagram and Facebook for more!
Sofia Ribeiro Photography is a Union County New Jersey maternity and newborn photographer, specializing in fine art printed product for your home. Serving the Tri-State area, including North and Central New Jersey, Union, Sussex, Middlesex, Bergen, Somerset, Essex, Hudson, Morris, and Warren counties, New York City, and Staten Island, NY.


Leave a Reply